How-to — task-oriented recipe.
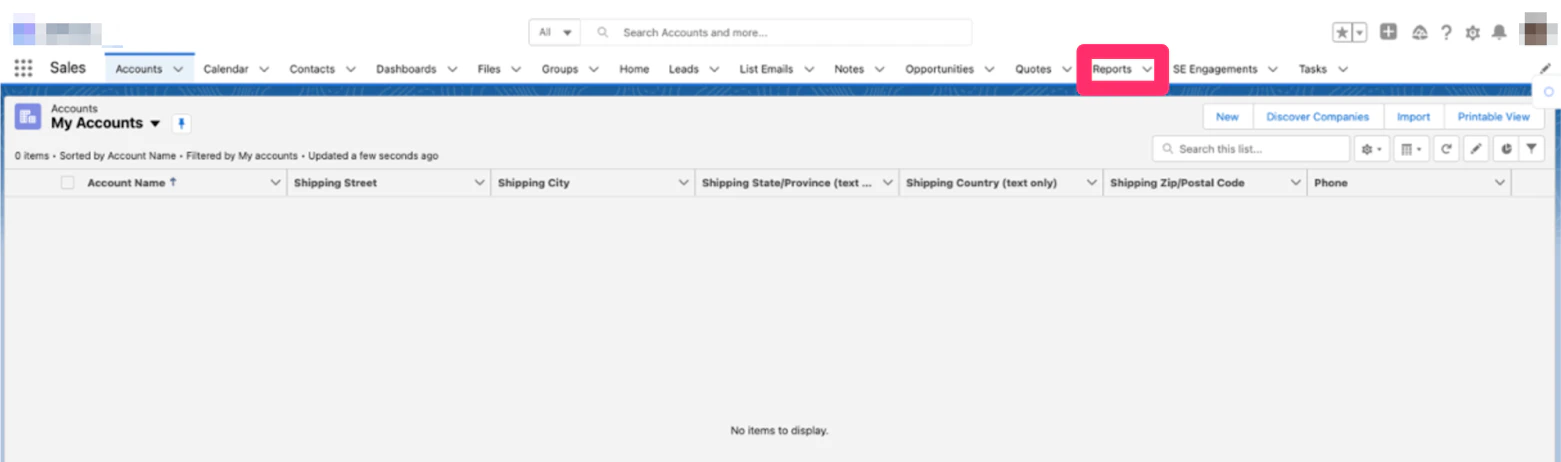
- In your Salesforce instance, click on Reports.
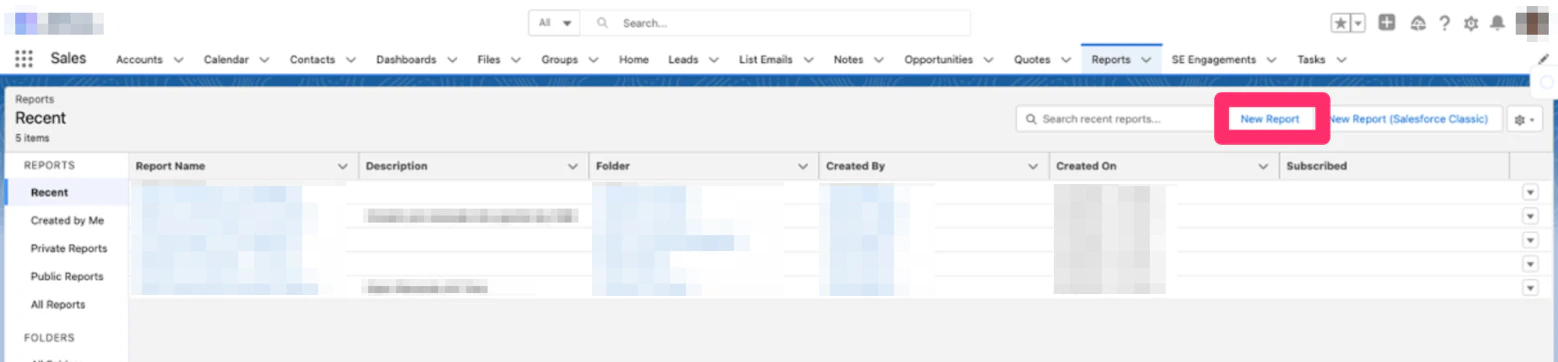
- Click New Report in the top-right corner.
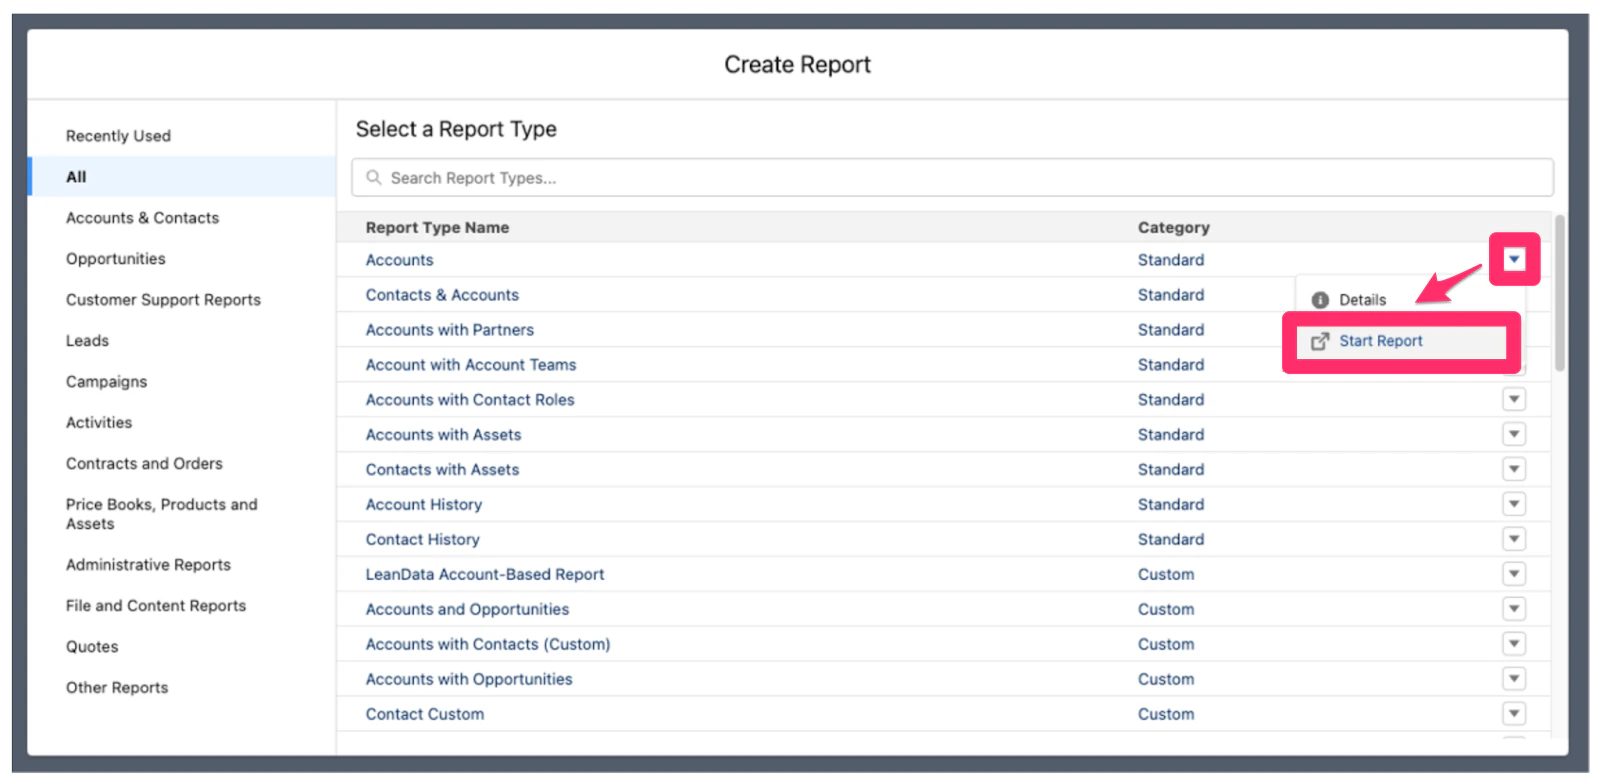
- Under Select a Report Type, click the dropdown arrow next to the Report Type of your choice, then click Start Report.
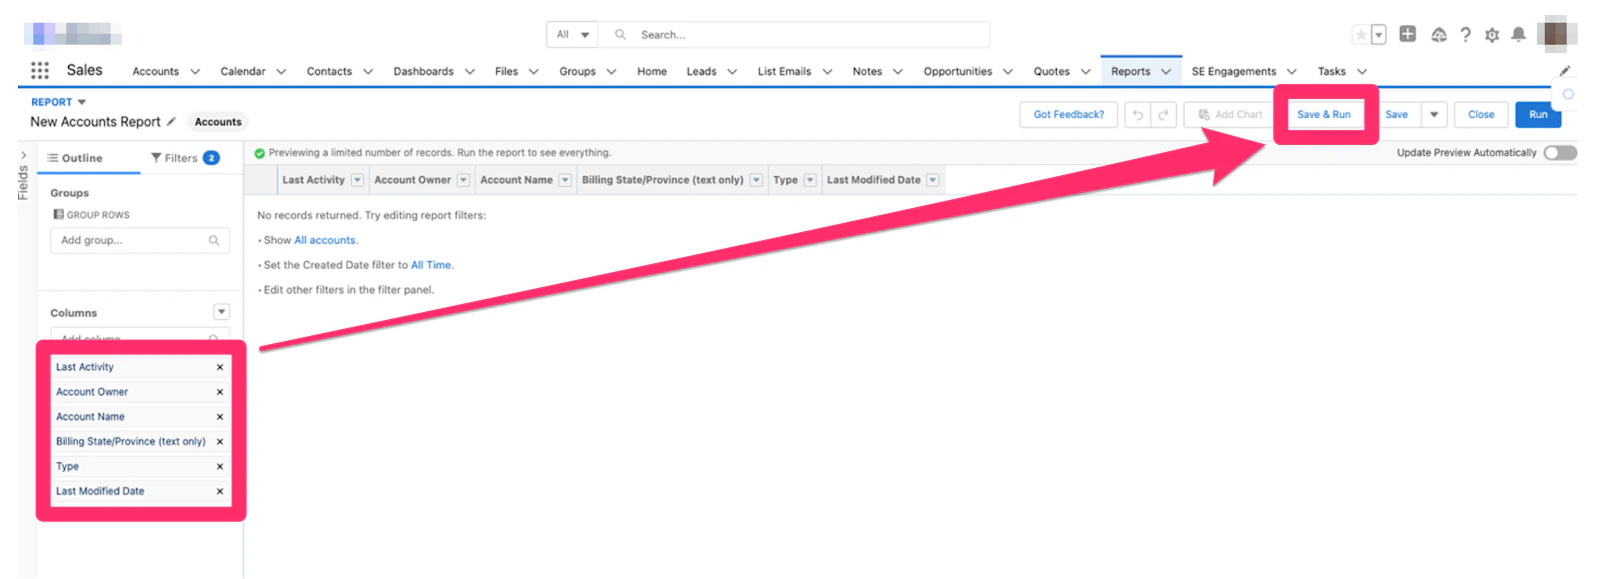
- Under Columns on the left sidebar, select which columns to include in your report. Then, click Save & Run in the top-right corner.
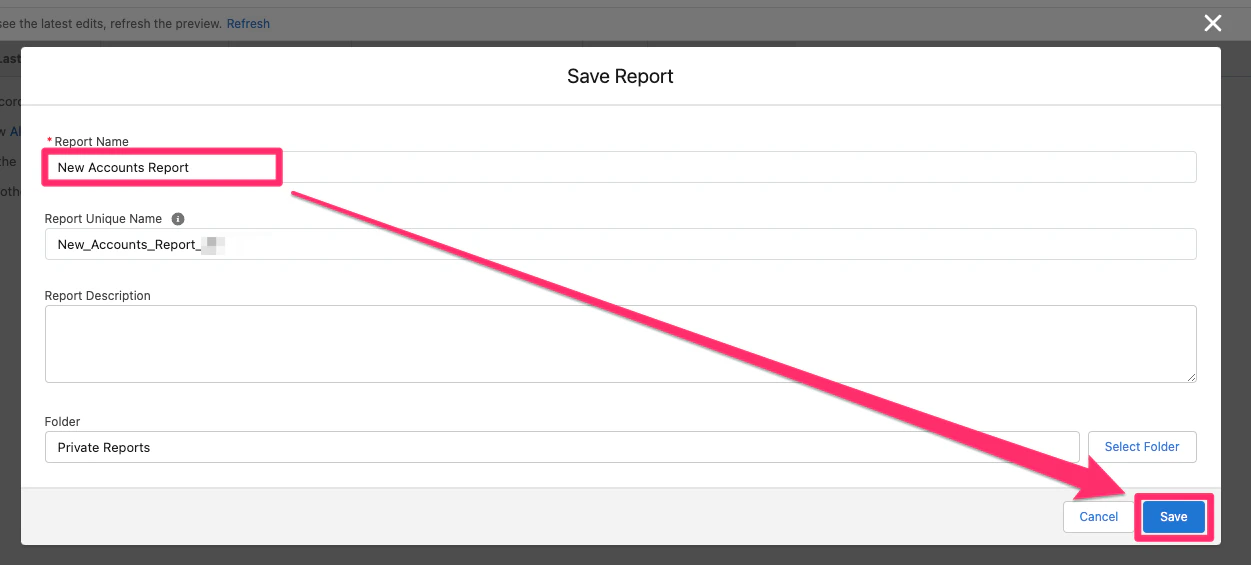
- Enter your Report Name and click Save.
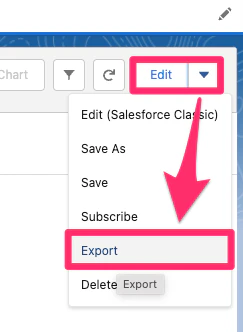
- In the top-right corner, click the drop down arrow next to Edit and click Export.
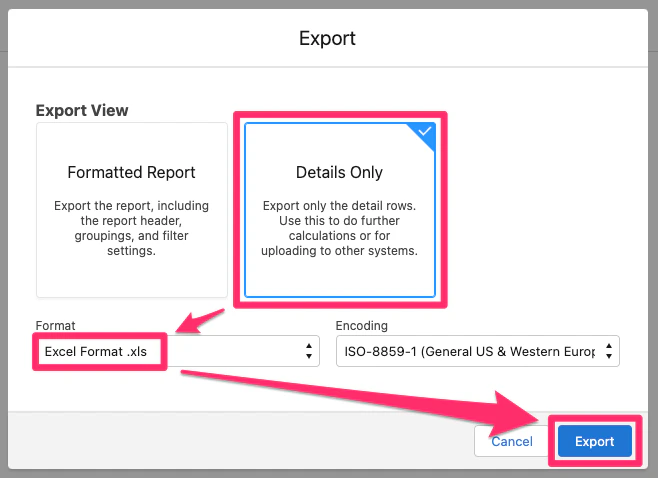
- Export as Details Only. Then, make sure to select Excel Format .xls or .csv for the Format field, then click Export.
- You may notice that some activities are missing in the exported file - this is likely due to Salesforce’s policy on Archive Days Limits and Maximums, which range from 1-10 years:
- 365 days (1 year as the default)
- 1826 days (5 years as the recommended maximum)
- 3650 days (10 years as the maximum limit) To increase the Archive Days limit, please ask your System Administrator to create a Support Case with the Feature Activations & Limits Team.
- Now that you have the exported file from Salesforce, follow these articles below to start the import process into Affinity: