How-to — task-oriented recipe.
- Note: Custom SSO is only available for those on our Enterprise tier.
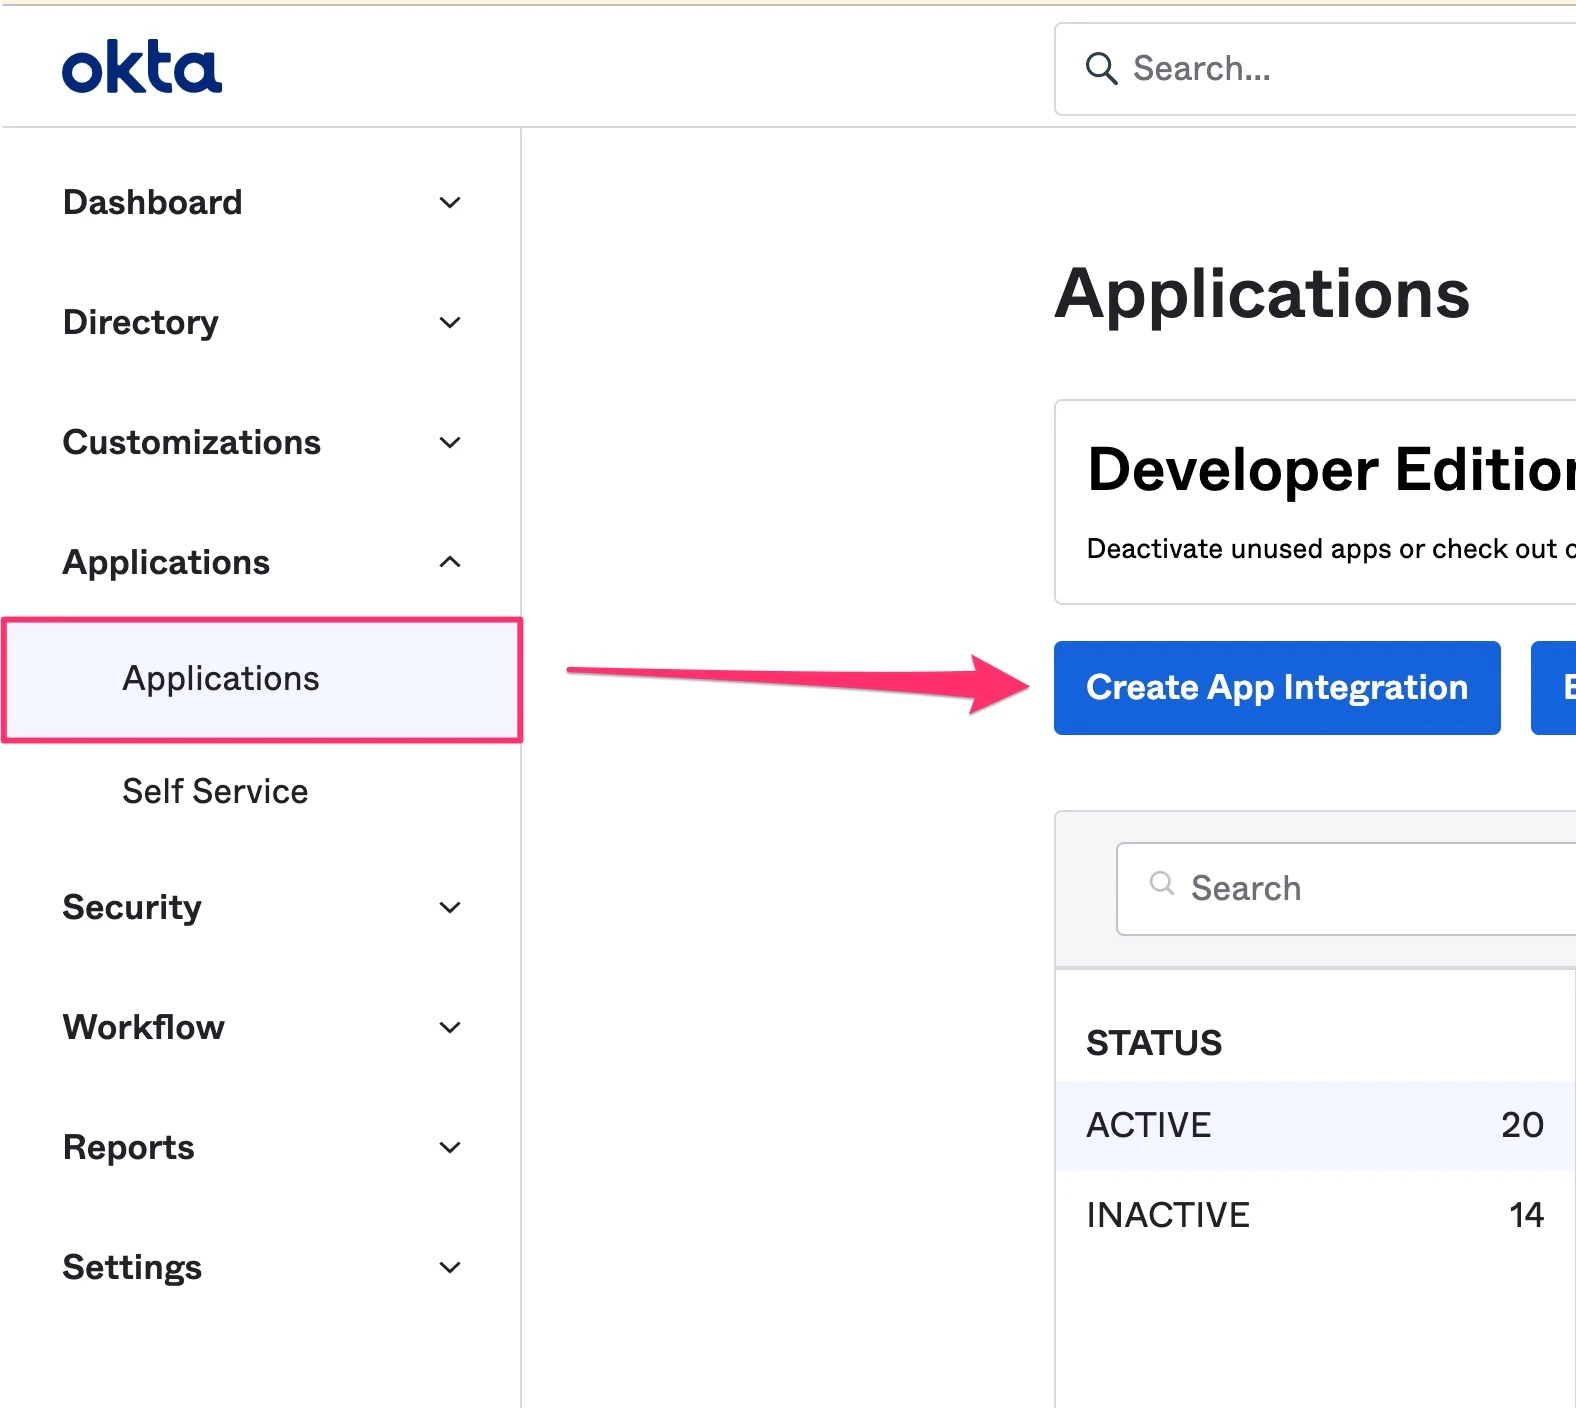
- Click on the Applications tab on the left sidebar, then click Create App Integration.
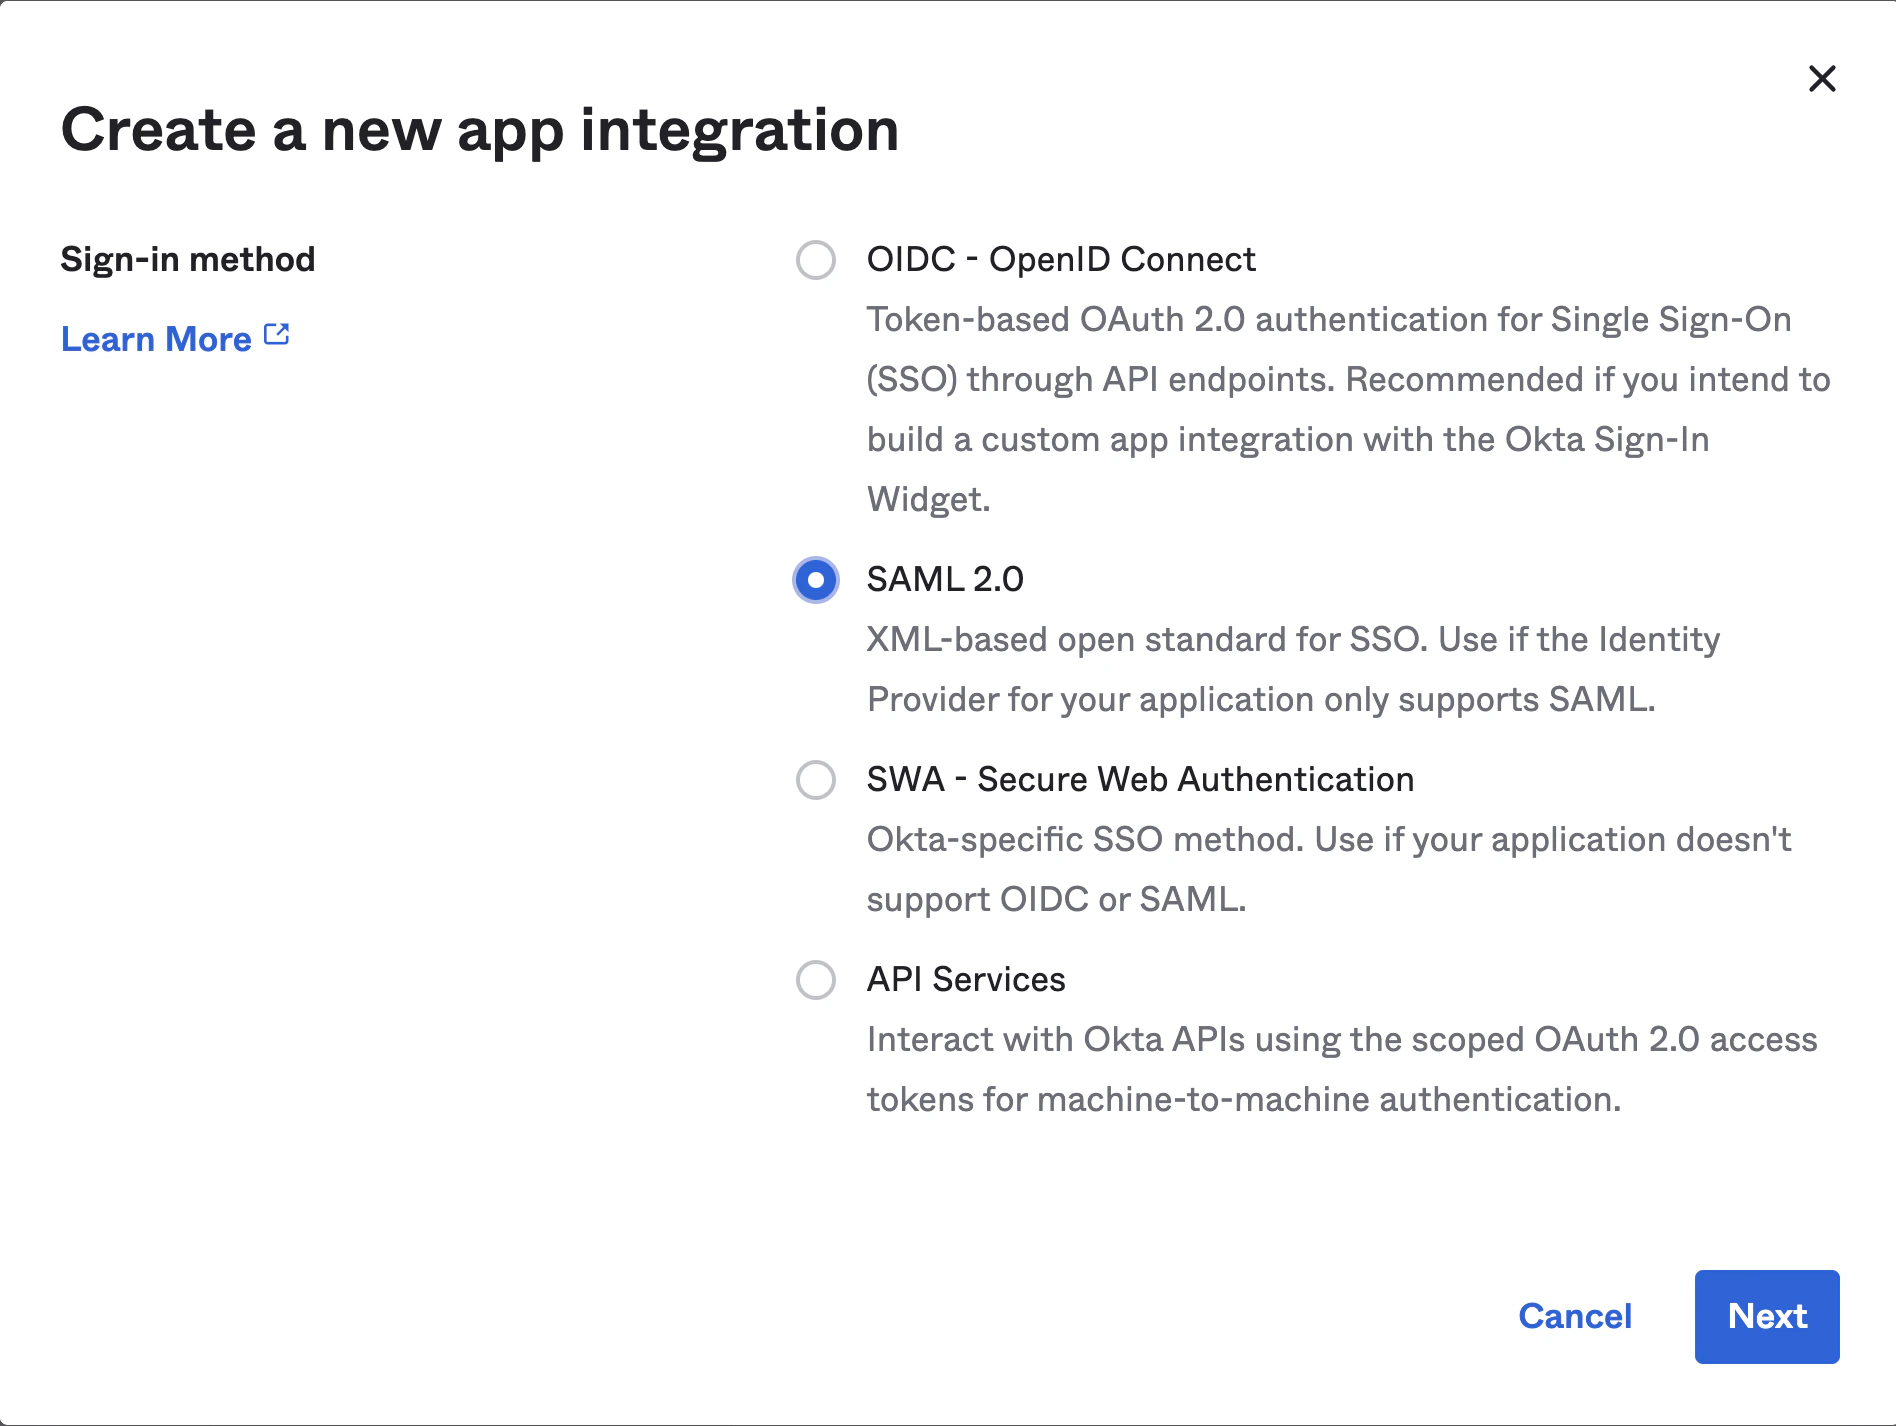
- On the following pop-up, select SAML 2.0, then click Next.
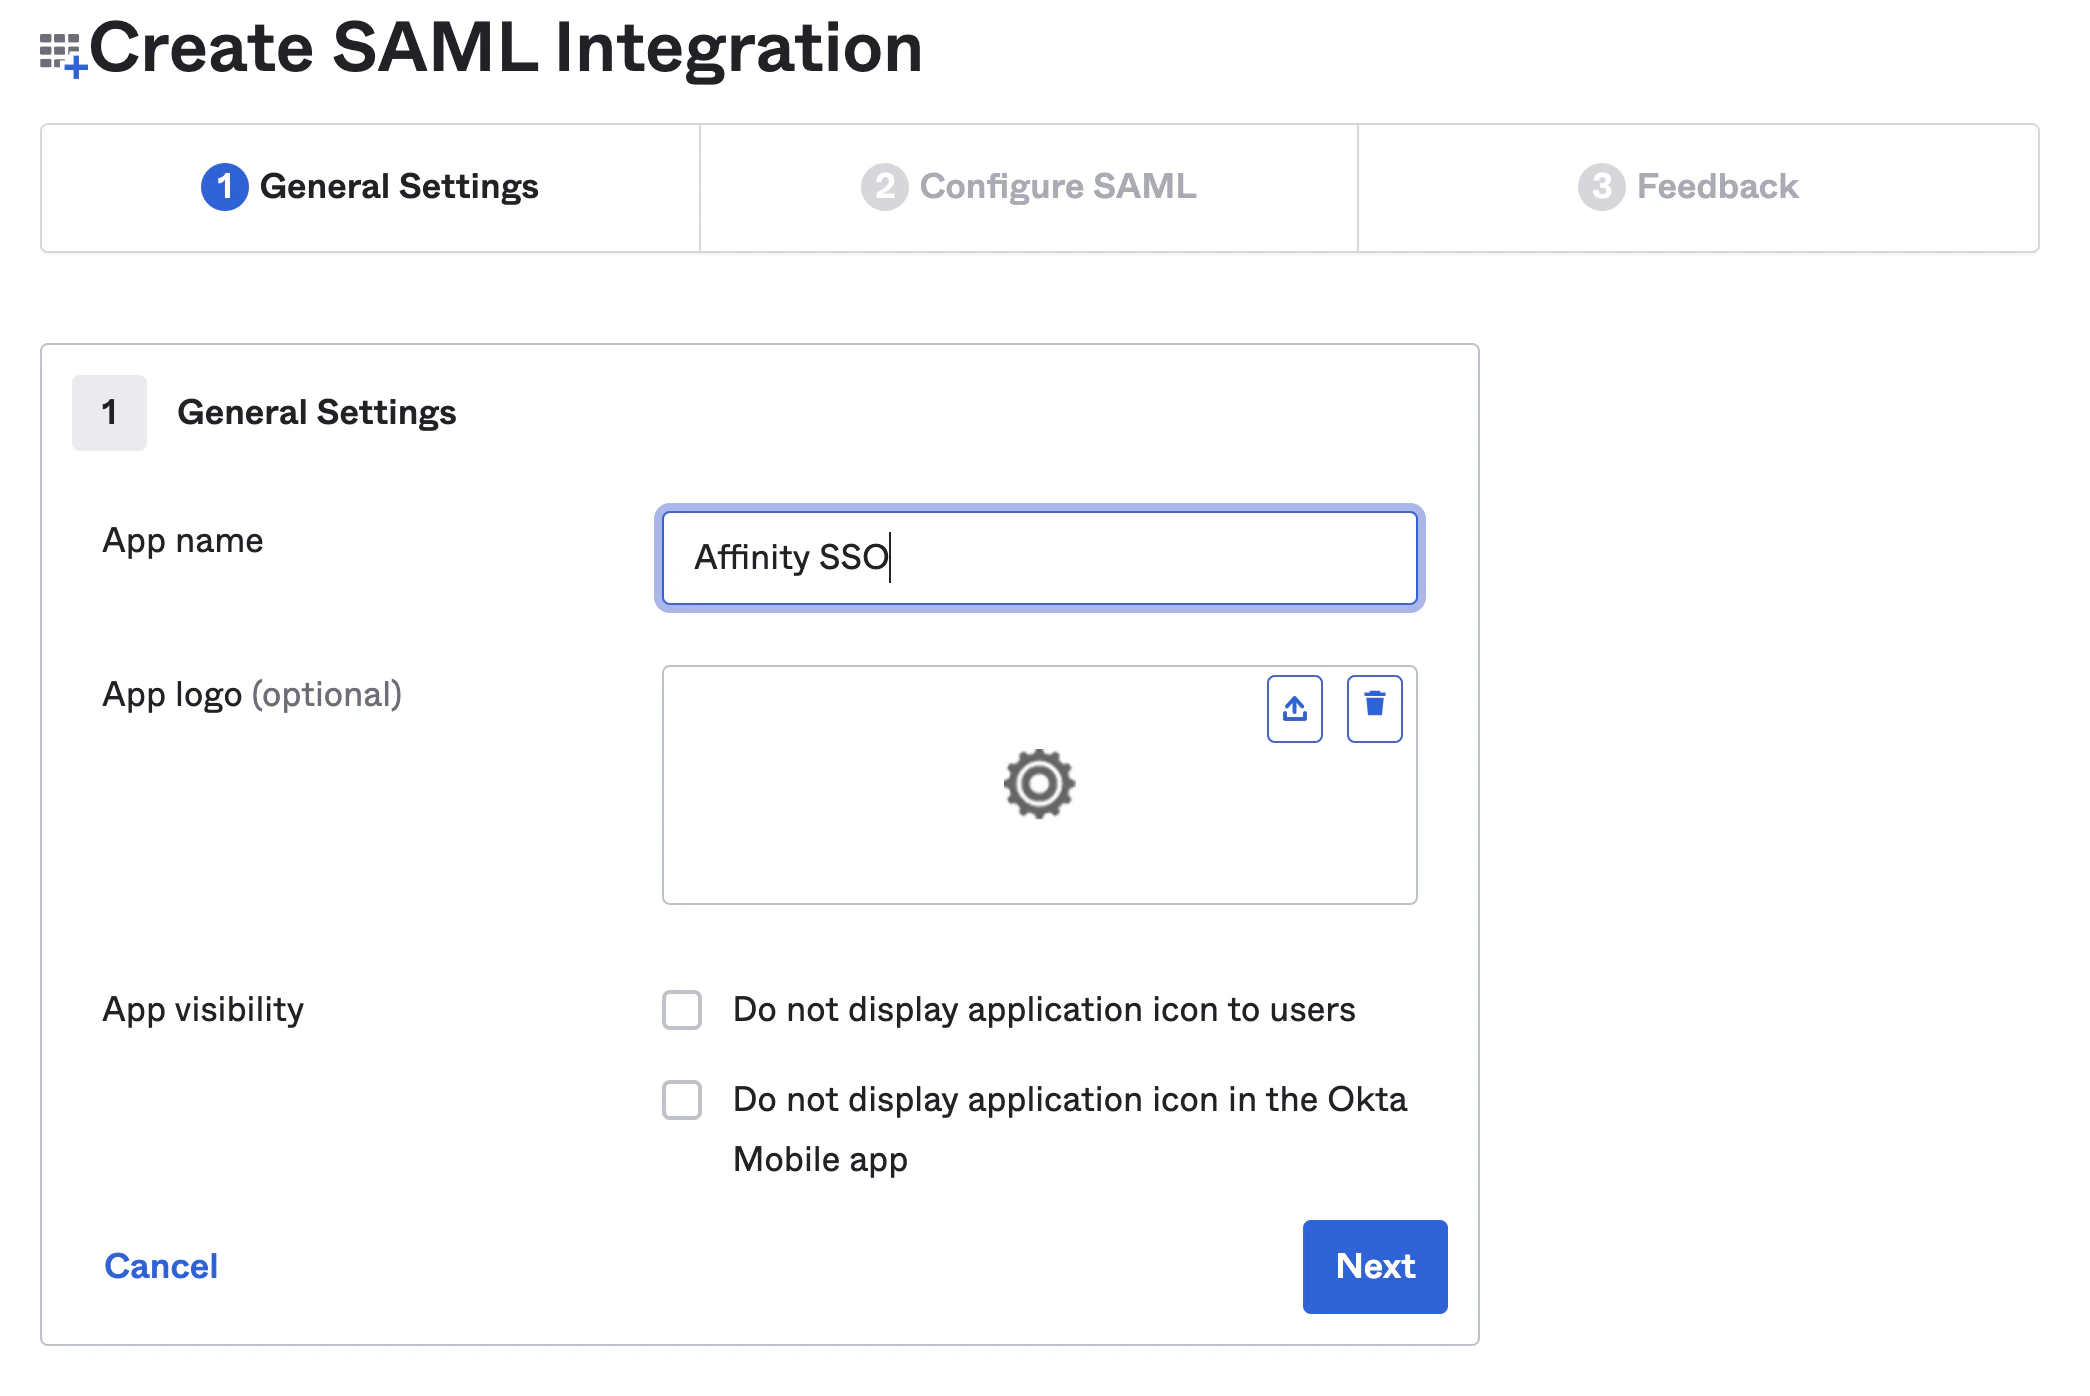
- Under the General Settings tab, fill out the App name. The App logo and App visibility fields can be filled out if you’d like. Then, click Next.
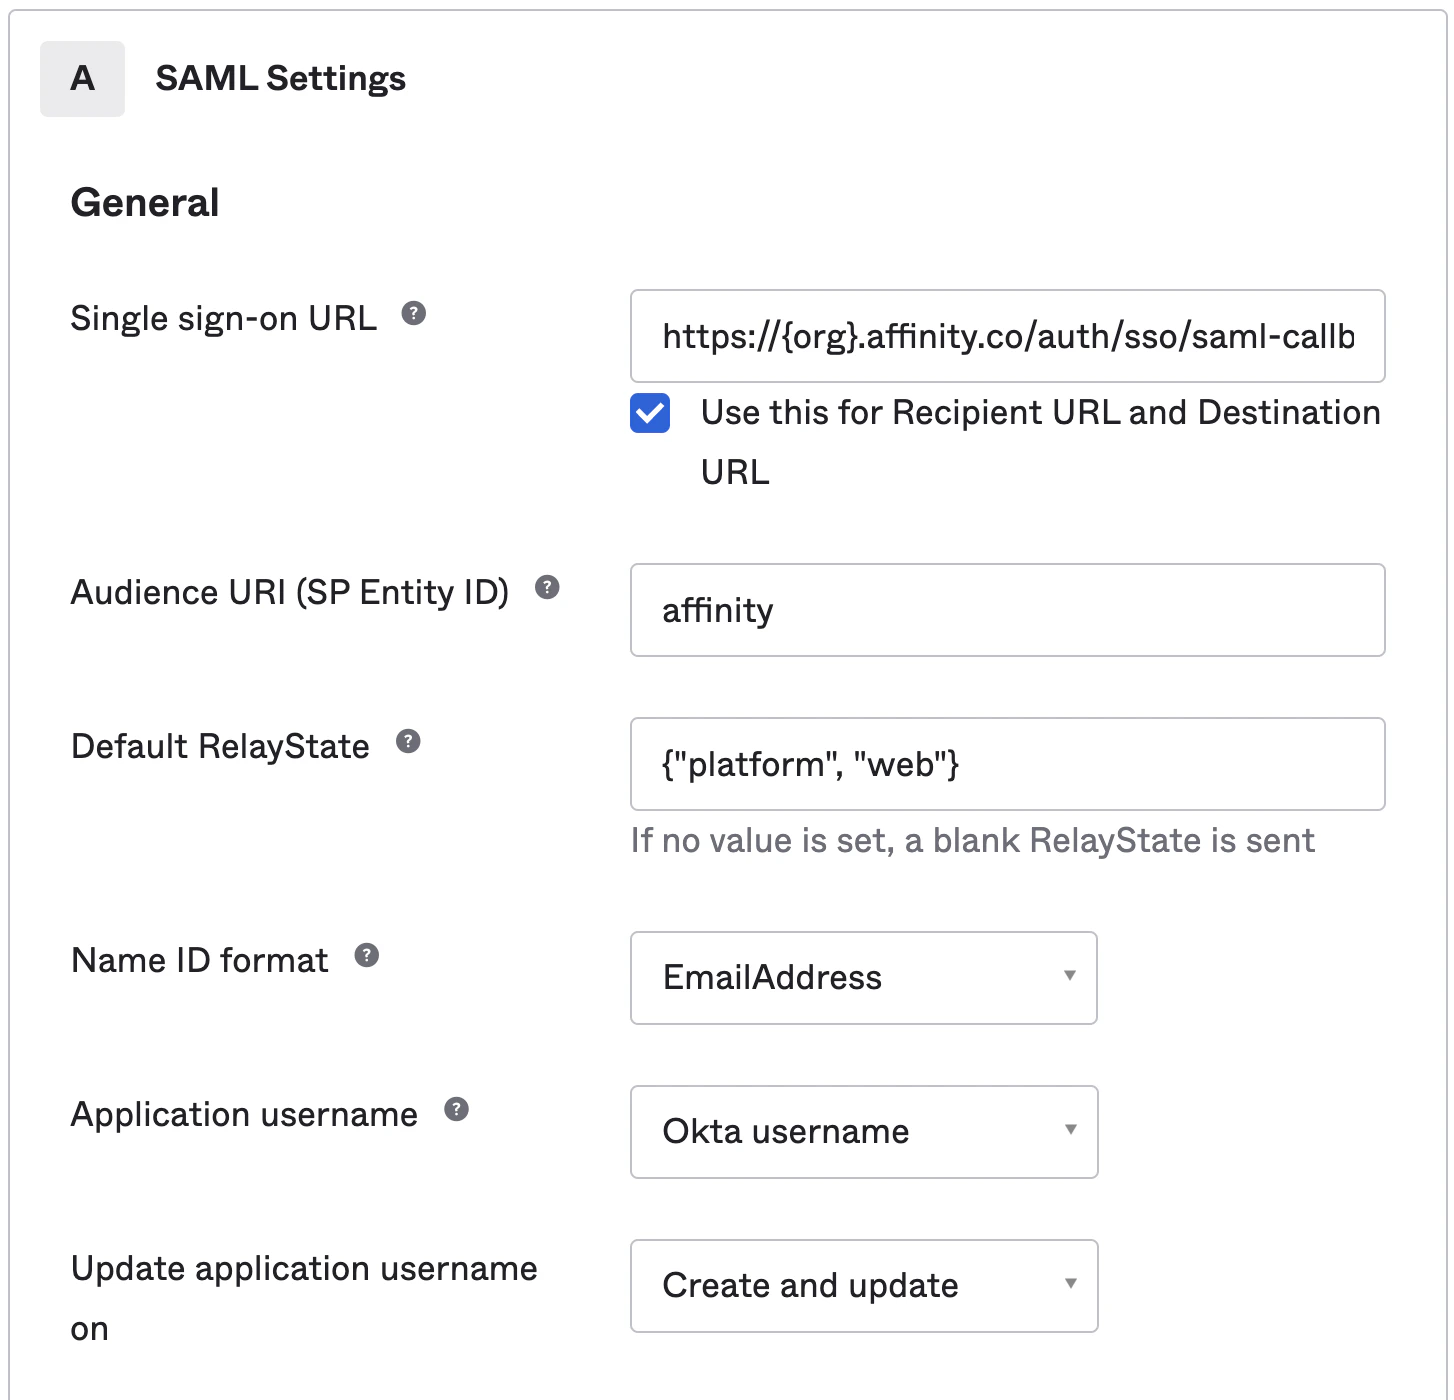
- Under the Configure SAML tab, fill out the following fields:
- Single sign-on URL: Please replace subdomain with your actual Affinity subdomain.
- Audience URI (SP Entity ID): affinity. Note: This can be changed to an ID of your preference, however, if it is not “affinity”, please provide us with your ID.
- Default RelayState:
{"platform", "web"}. Note: For an IDP-initiated setup, replace{"platform", "web"}withIDP-INITIATED-FLOWand let us know at support@affinity.co. - Name ID Format: EmailAddress
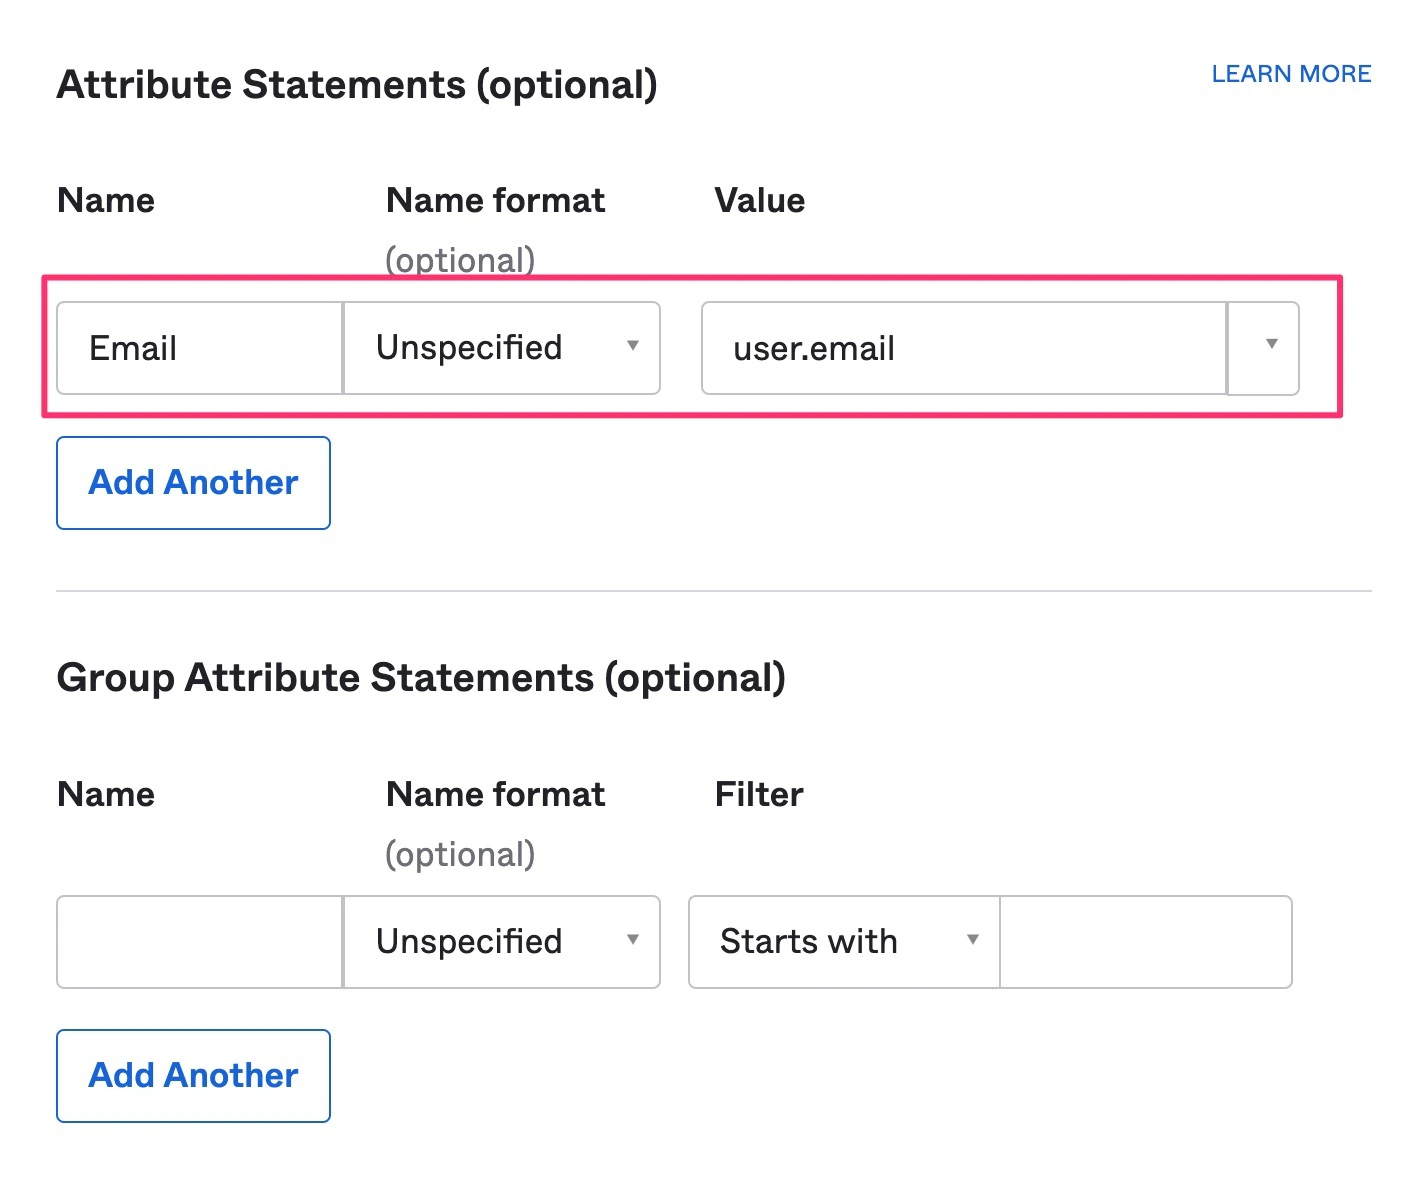
- Next, the Attribute Statements is not optional and must be filled out for the user’s email address to be returned.
- Finally, click Next, then click Finish. This should automatically take you to the Sign On tab for your newly-created application.
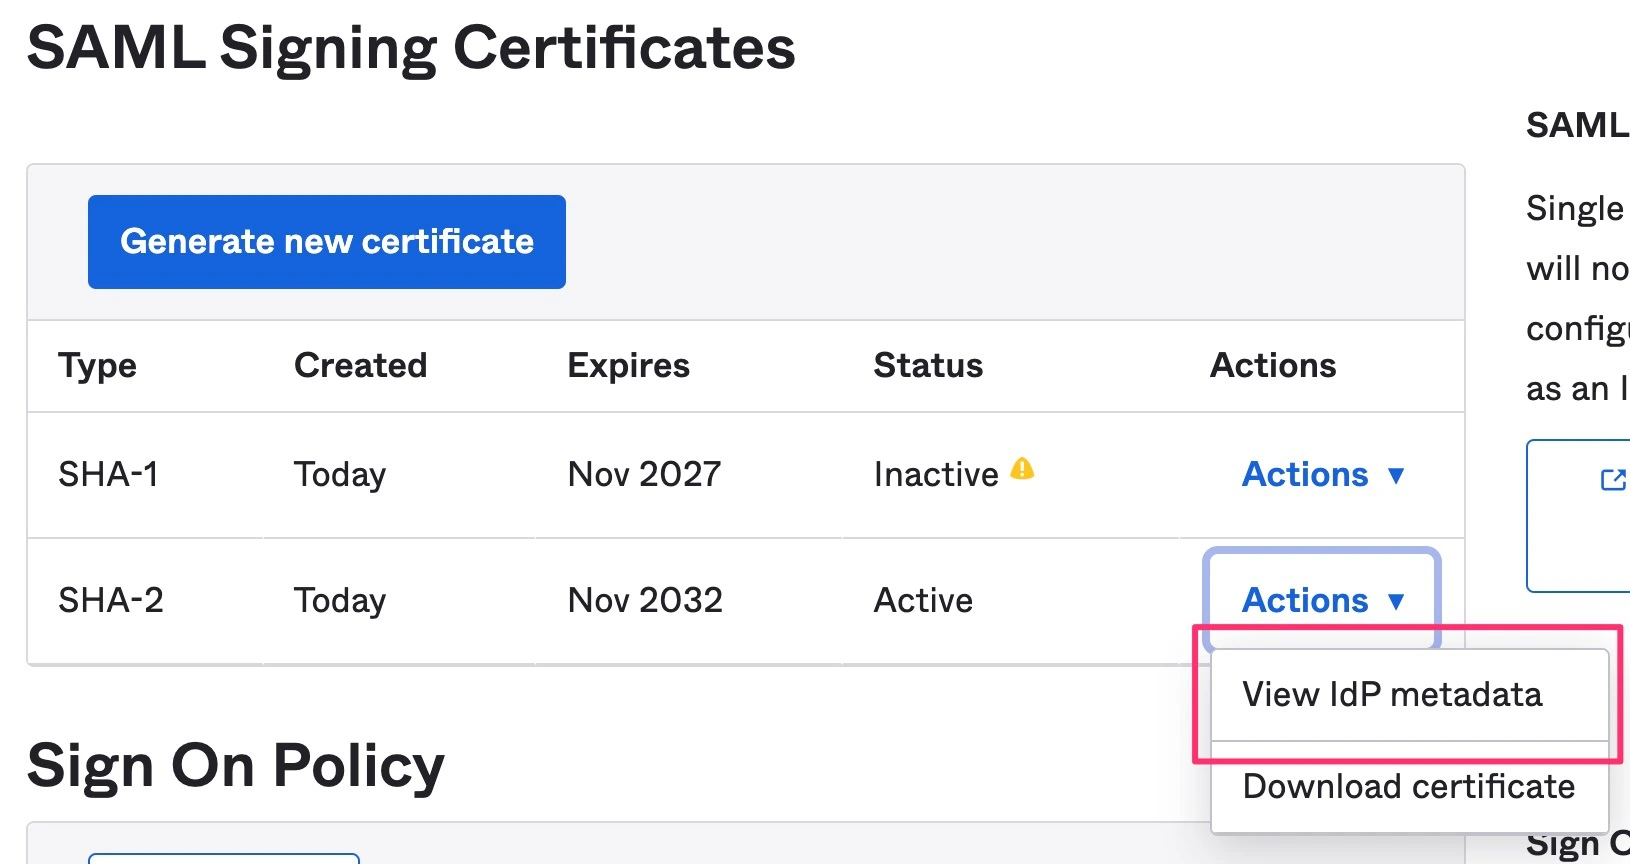
- Scroll down to the SAML Signing Certificates section and please provide us with the following (via Actions > View IdP Metadata or Actions > Download IdP Metadata):
- Audience URI (SP Entity ID)
- IdP metadata URL
- Optional: Default RelayState (only if it is IDP-initiated)