How-to — task-oriented recipe.
How to customize default fields
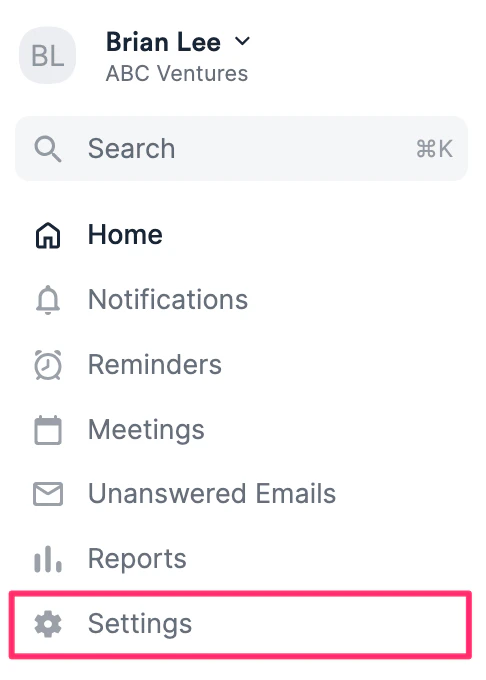
- Click on Settings on the left-side of your screen.
- Click Default Fields, then click the Menu icon to choose from the 4 different sections below:
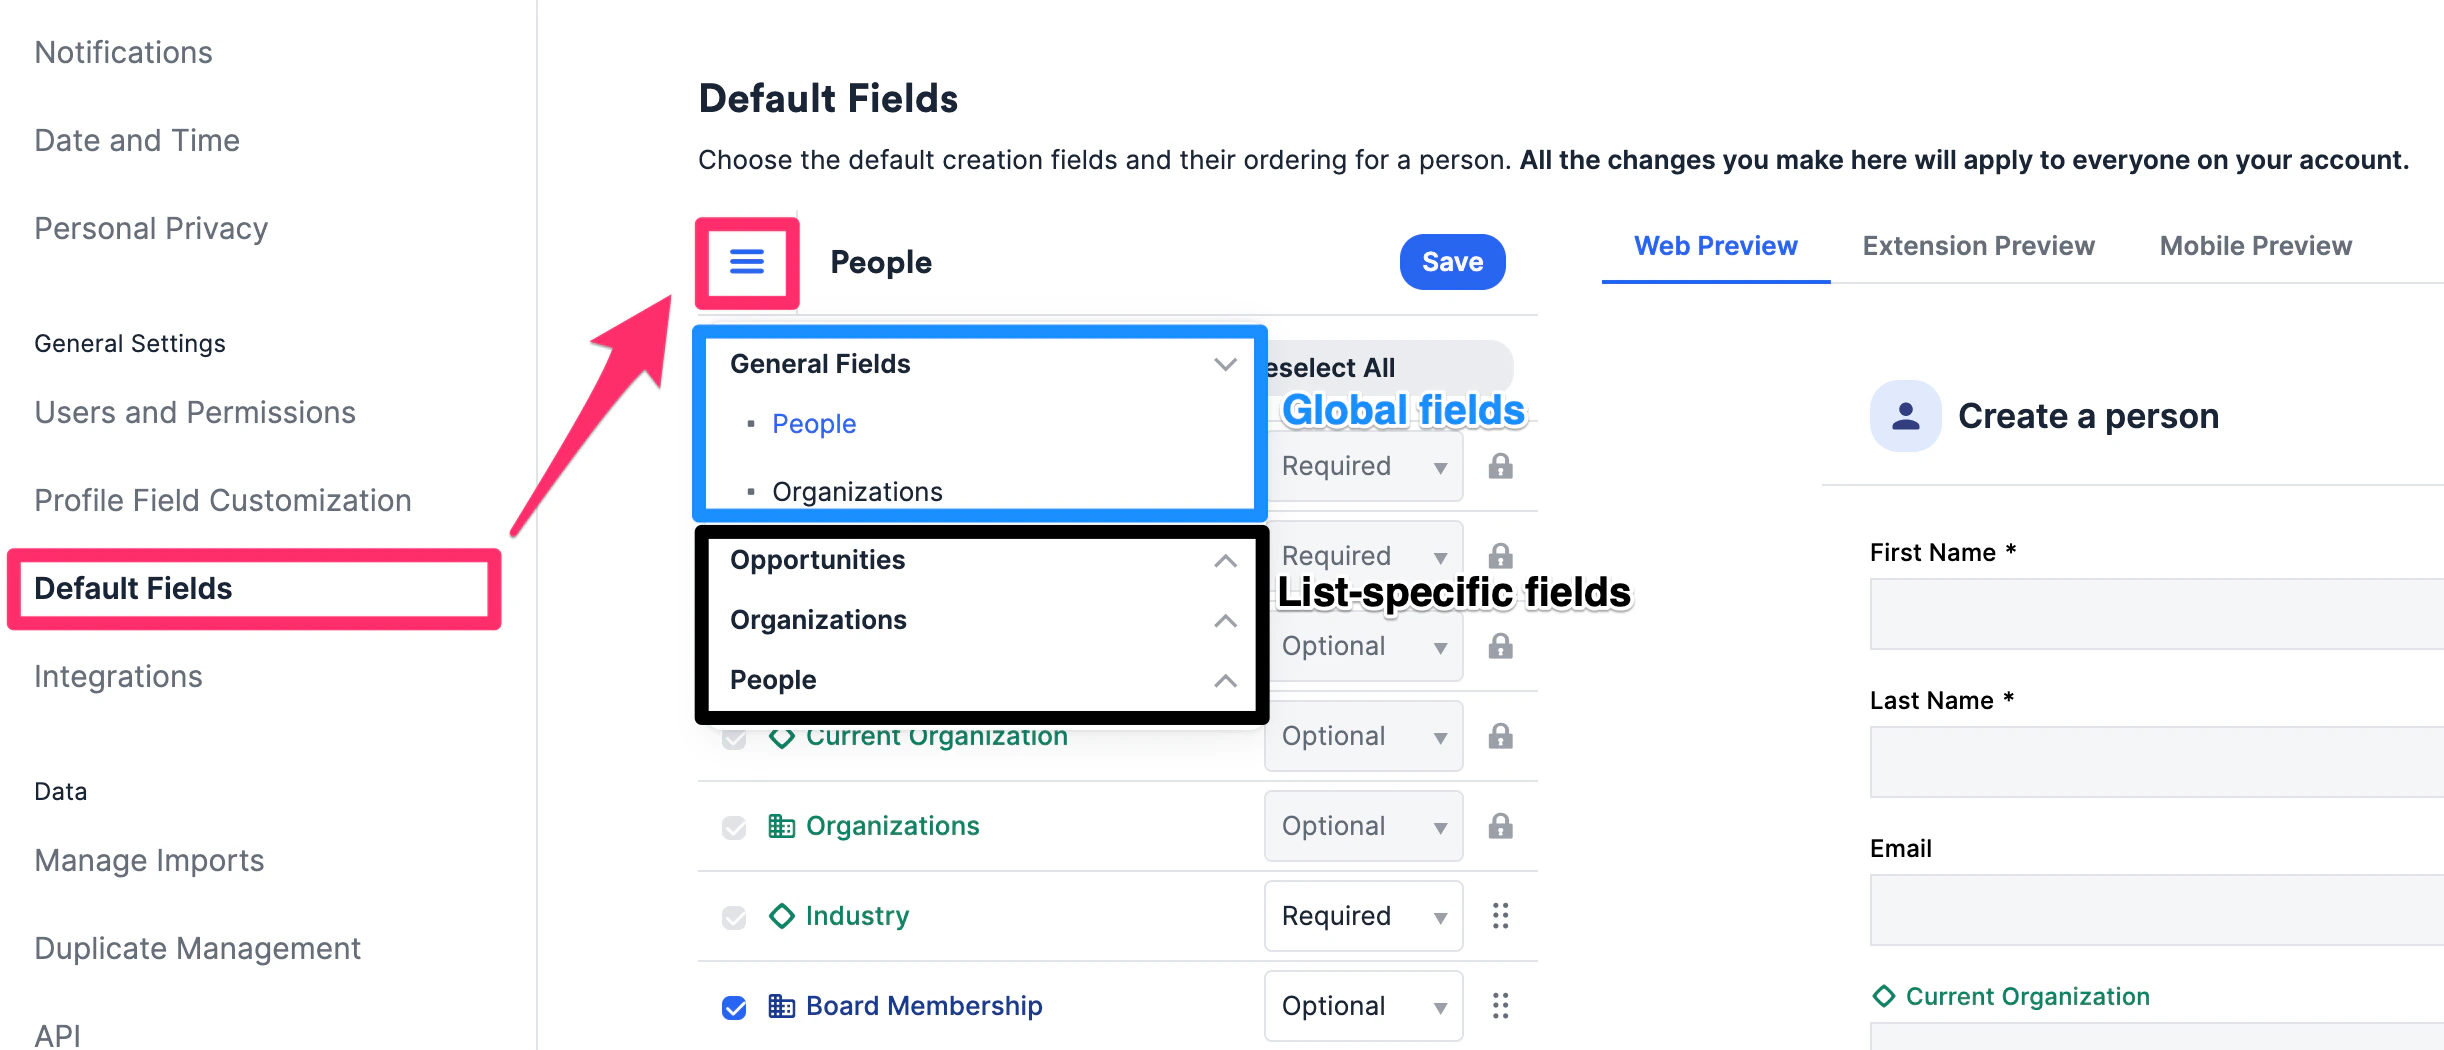
- General Fields: Account admins can choose which global fields to show/require when creating a new person or organization
- Opportunities, Organizations, and People: Those who are list admins can choose which list-specific fields to show/require for their respective lists when users attempt to add entries to these lists.
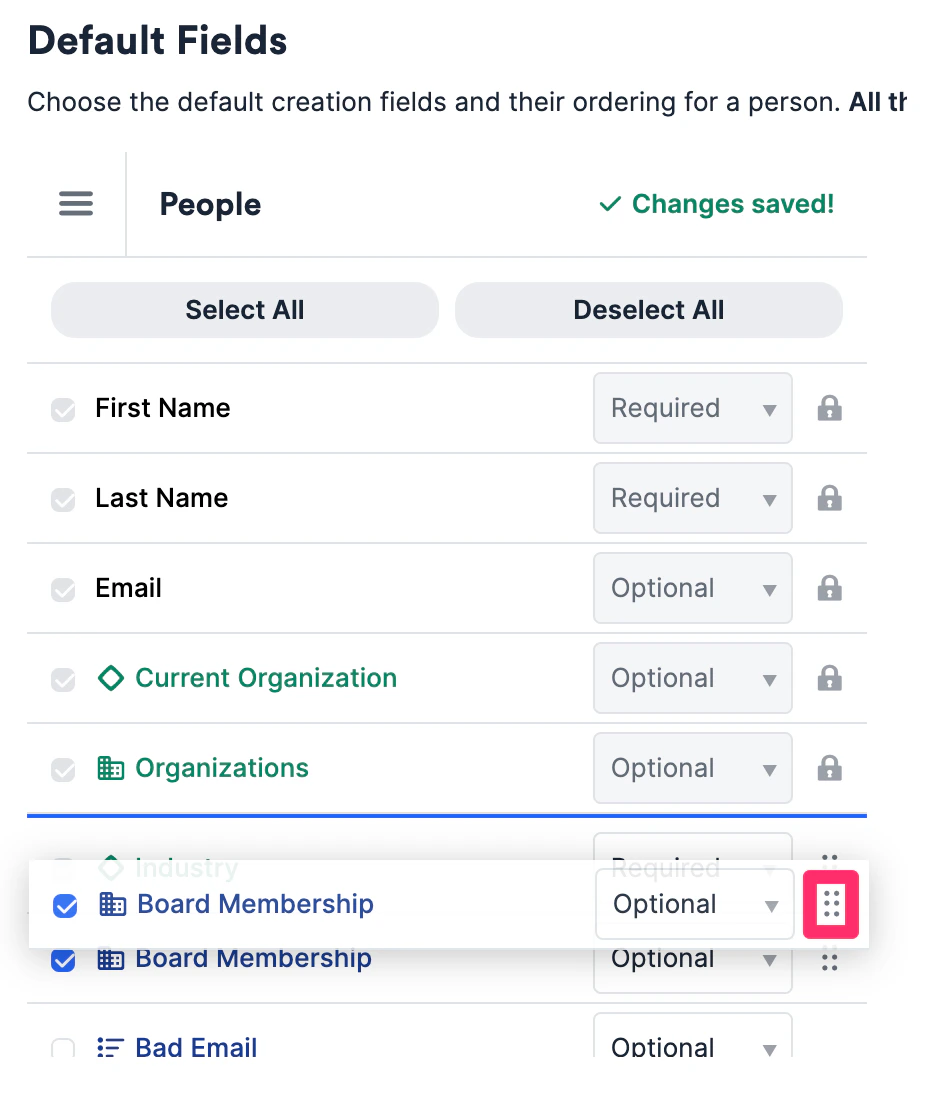
- Click the checkboxes for the fields you want to show and uncheck those you’d like to hide
- Drag and drop to reorder the layout of the fields. You will notice that some fields are locked - these are Affinity’s default fields and cannot be removed or reordered
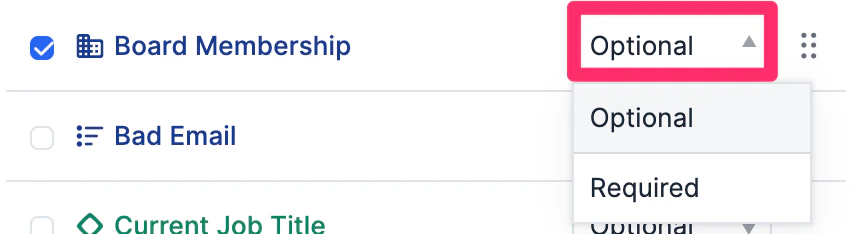
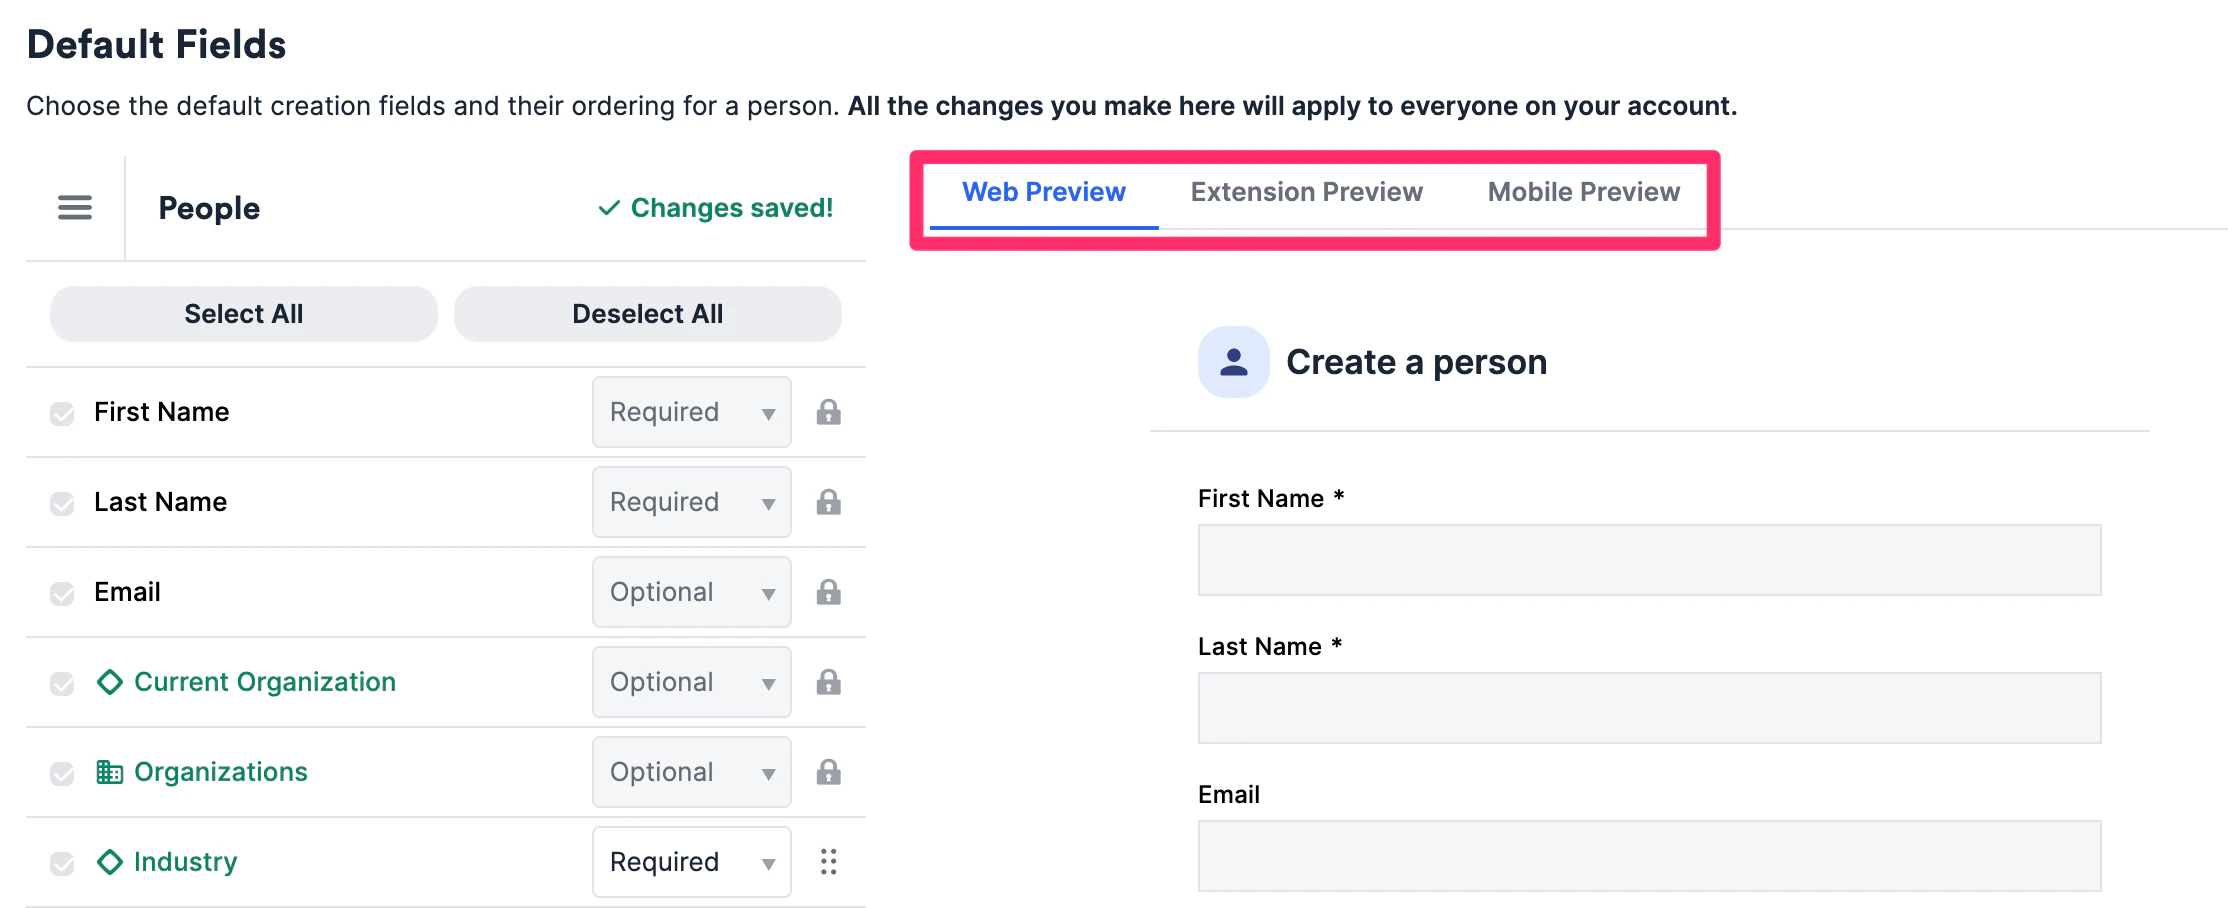
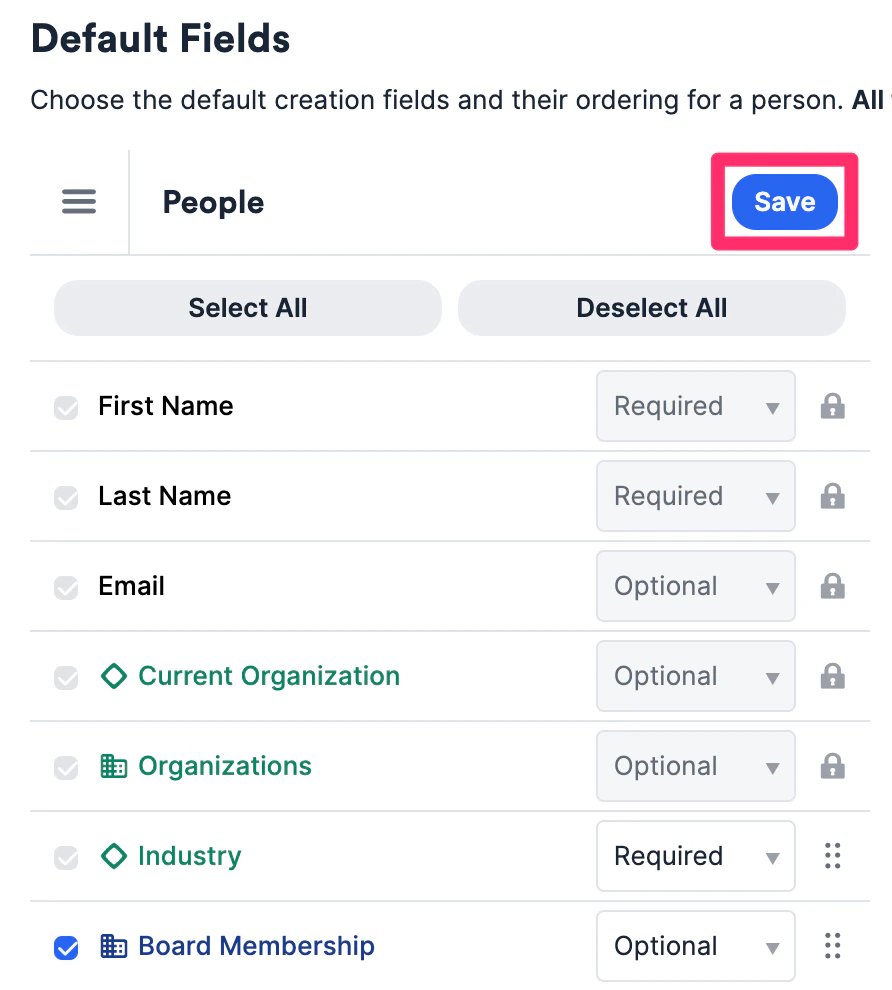
- You can also select which fields are Required to be filled out. Otherwise, you can leave them as Optional.
- You can also preview how these fields will appear on these different platforms: Web, Chrome Extension, and Mobile.
- Once you’re done customizing, click Save.
Important Callouts
We will not enforce required fields when new contacts are created or new list entries are added via the following methods:- Data Imports
- External API
- Auto-created organizations and people by Affinity
- Entities that already exist on a list