> ## Documentation Index
> Fetch the complete documentation index at: https://support.affinity.co/llms.txt
> Use this file to discover all available pages before exploring further.
# How to create a new list in Affinity
> Help center reference
**How-to** — task-oriented recipe.
Using the All People and All Organizations directories, you can add these contacts to your lists to track your specific workflows/purposes.
## How to create a new list
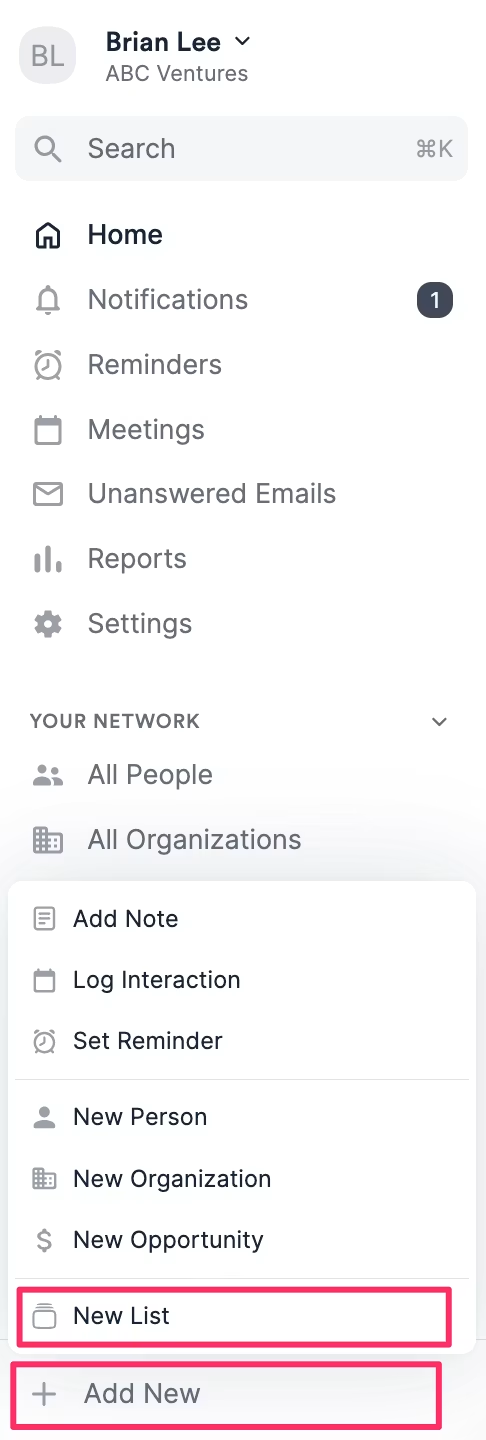
1. Click **+ Add New** on the bottom-left corner of the global navigation bar, then click **New List**.
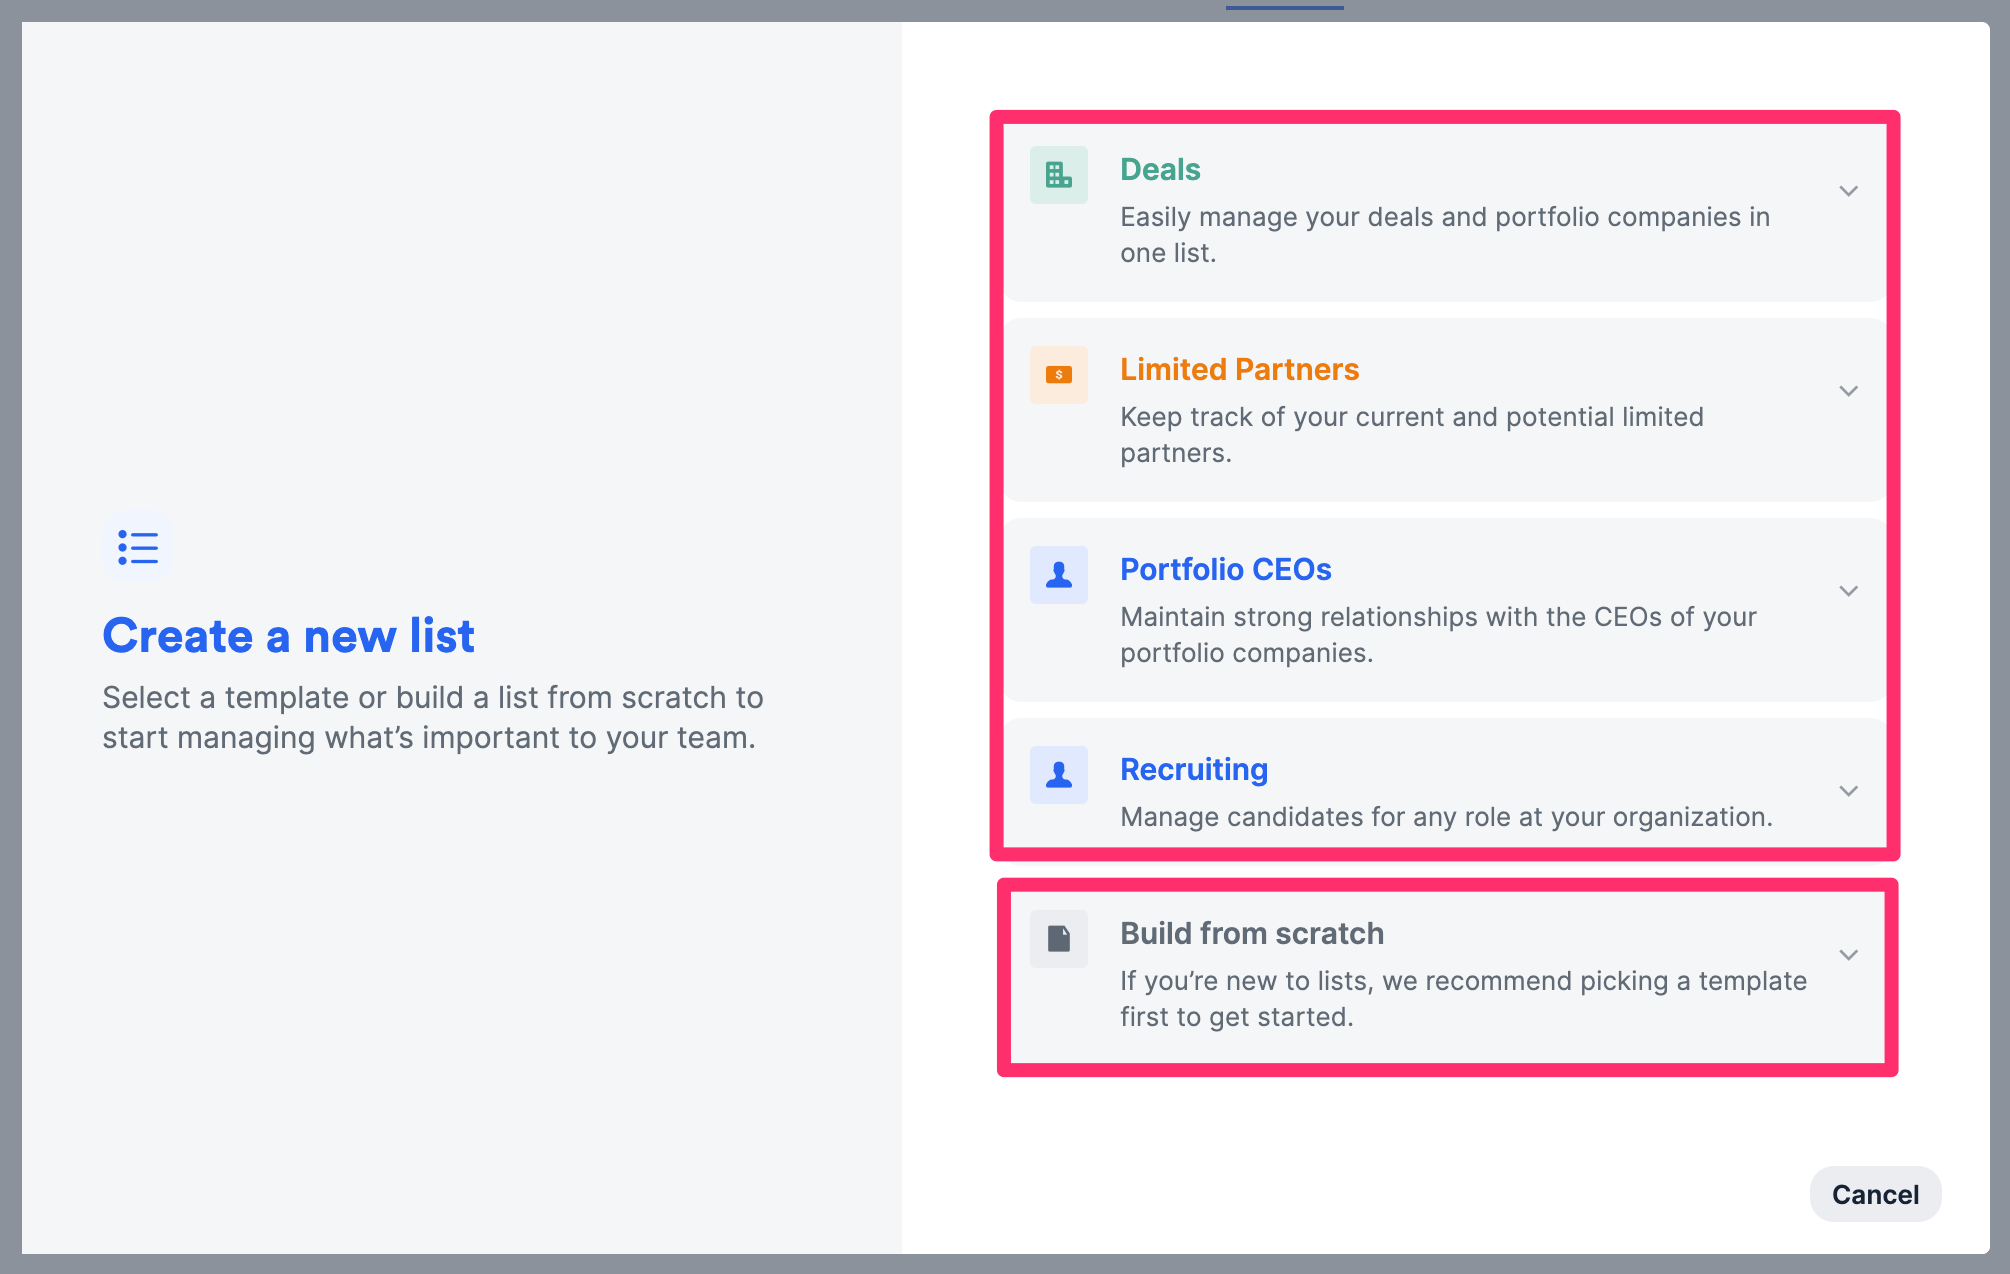
 2. Choose one of the **list templates** based on the industry your account is set to. If none of these premade templates are relevant, you can click **Build from scratch** at the bottom.
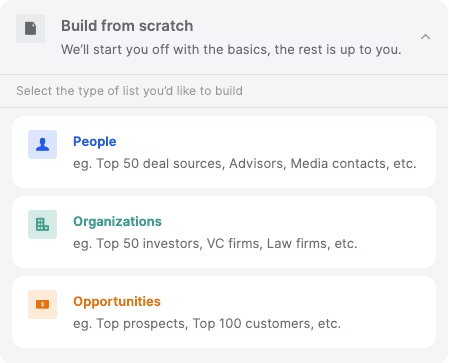
 3. If you choose to **build from scratch**, select one of the [three types of lists: people-type, organization-type, and opportunity-type](/s/article/Types-of-lists-in-Affinity). If you're curious about how opportunity lists are different from people lists and organization lists in Affinity, please read: [How to create and leverage opportunities in Affinity](/s/article/Lists)
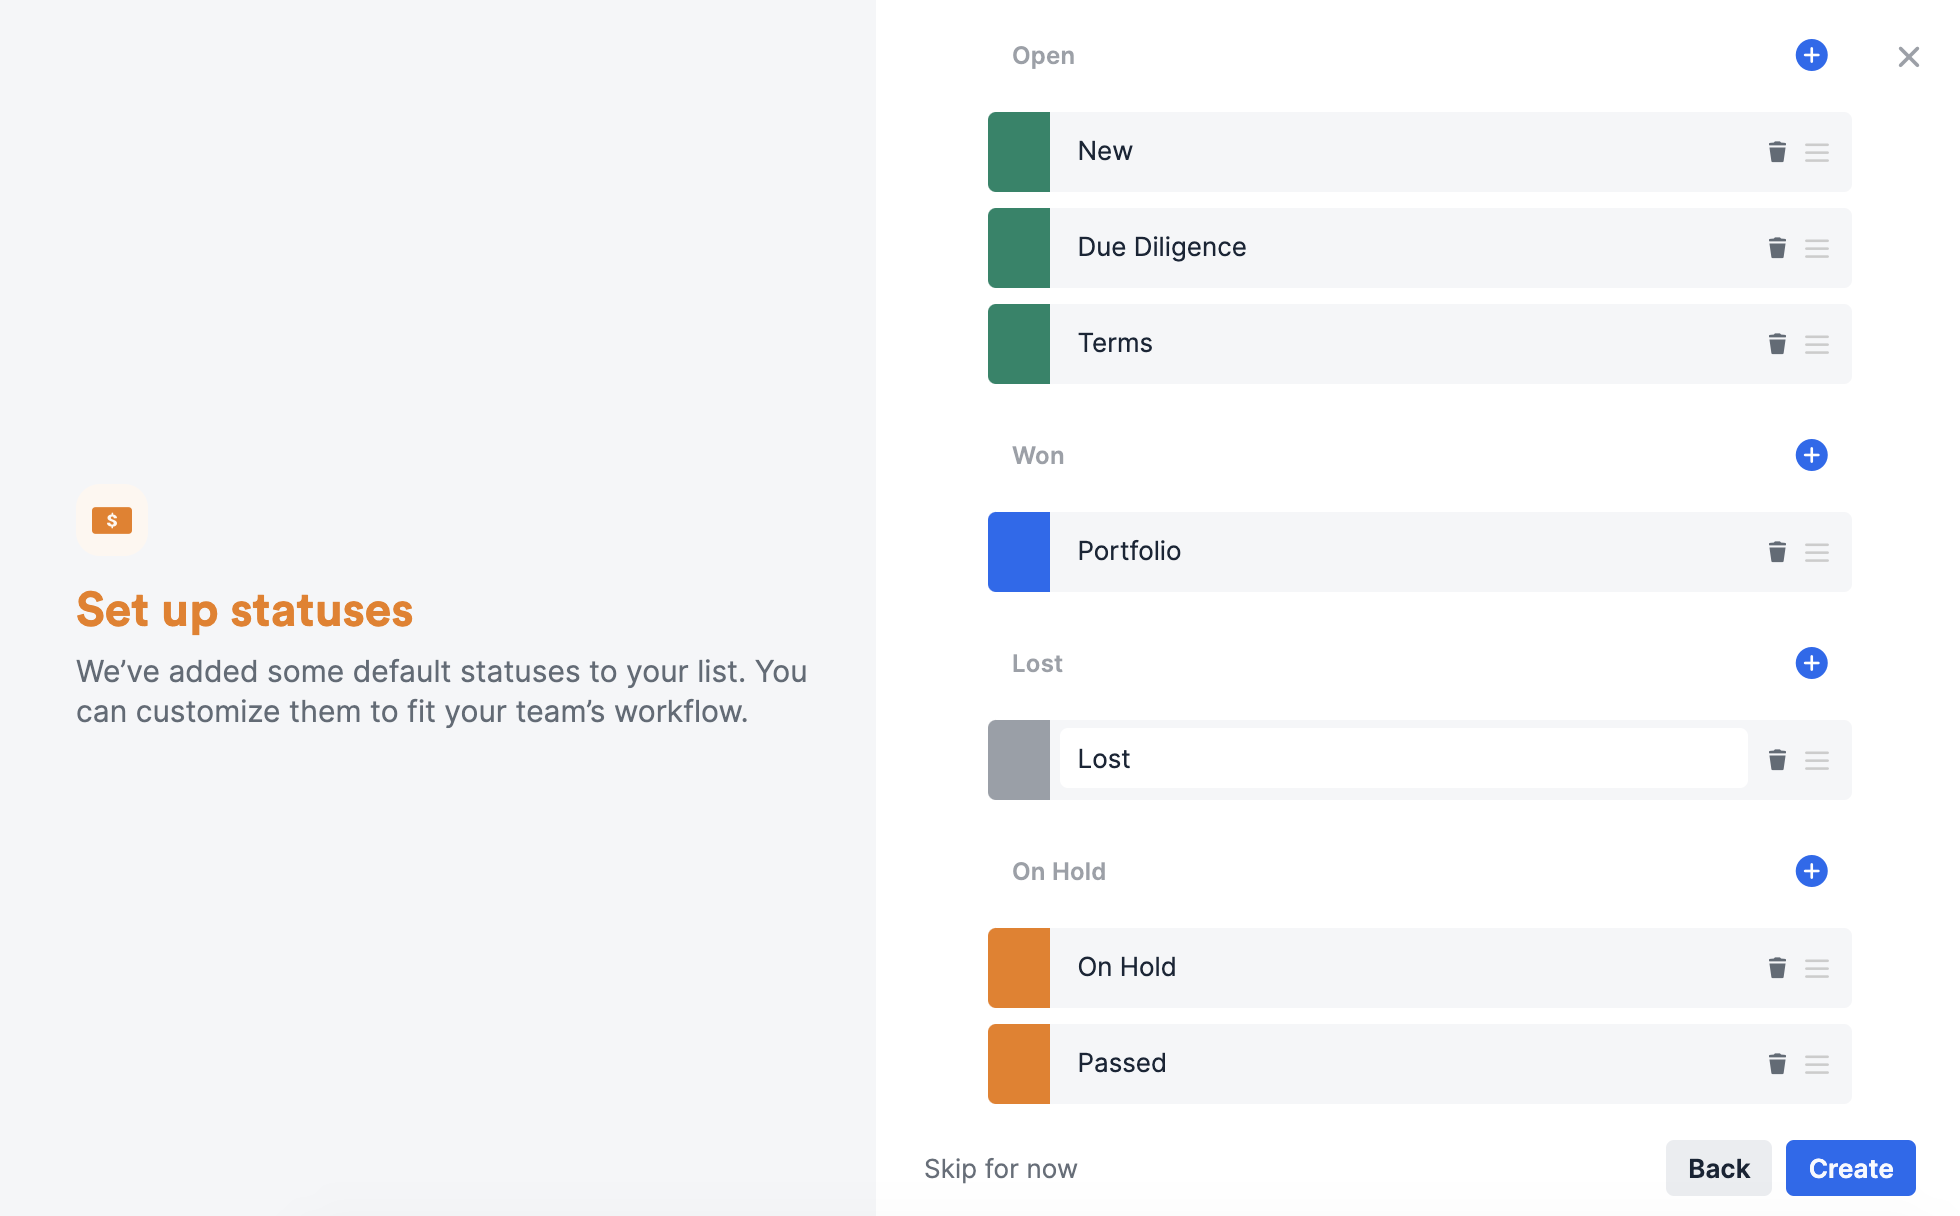
 4. Give your list a name, set up the different status options based on the default Status field, and click **Create** on the bottom-right corner.
**Note**: You can edit the color, name, sequence (top-down) of any status option at any time, so don't worry if you're not sure at the moment.
4. Give your list a name, set up the different status options based on the default Status field, and click **Create** on the bottom-right corner.
**Note**: You can edit the color, name, sequence (top-down) of any status option at any time, so don't worry if you're not sure at the moment.
 5. Now, you can start adding entities to your list as list entries in two different ways:
* If you have a CSV file ready for import, check out our [Importing Data article](/s/article/How-to-import-your-data-into-Affinity) and click the **Import data** button.
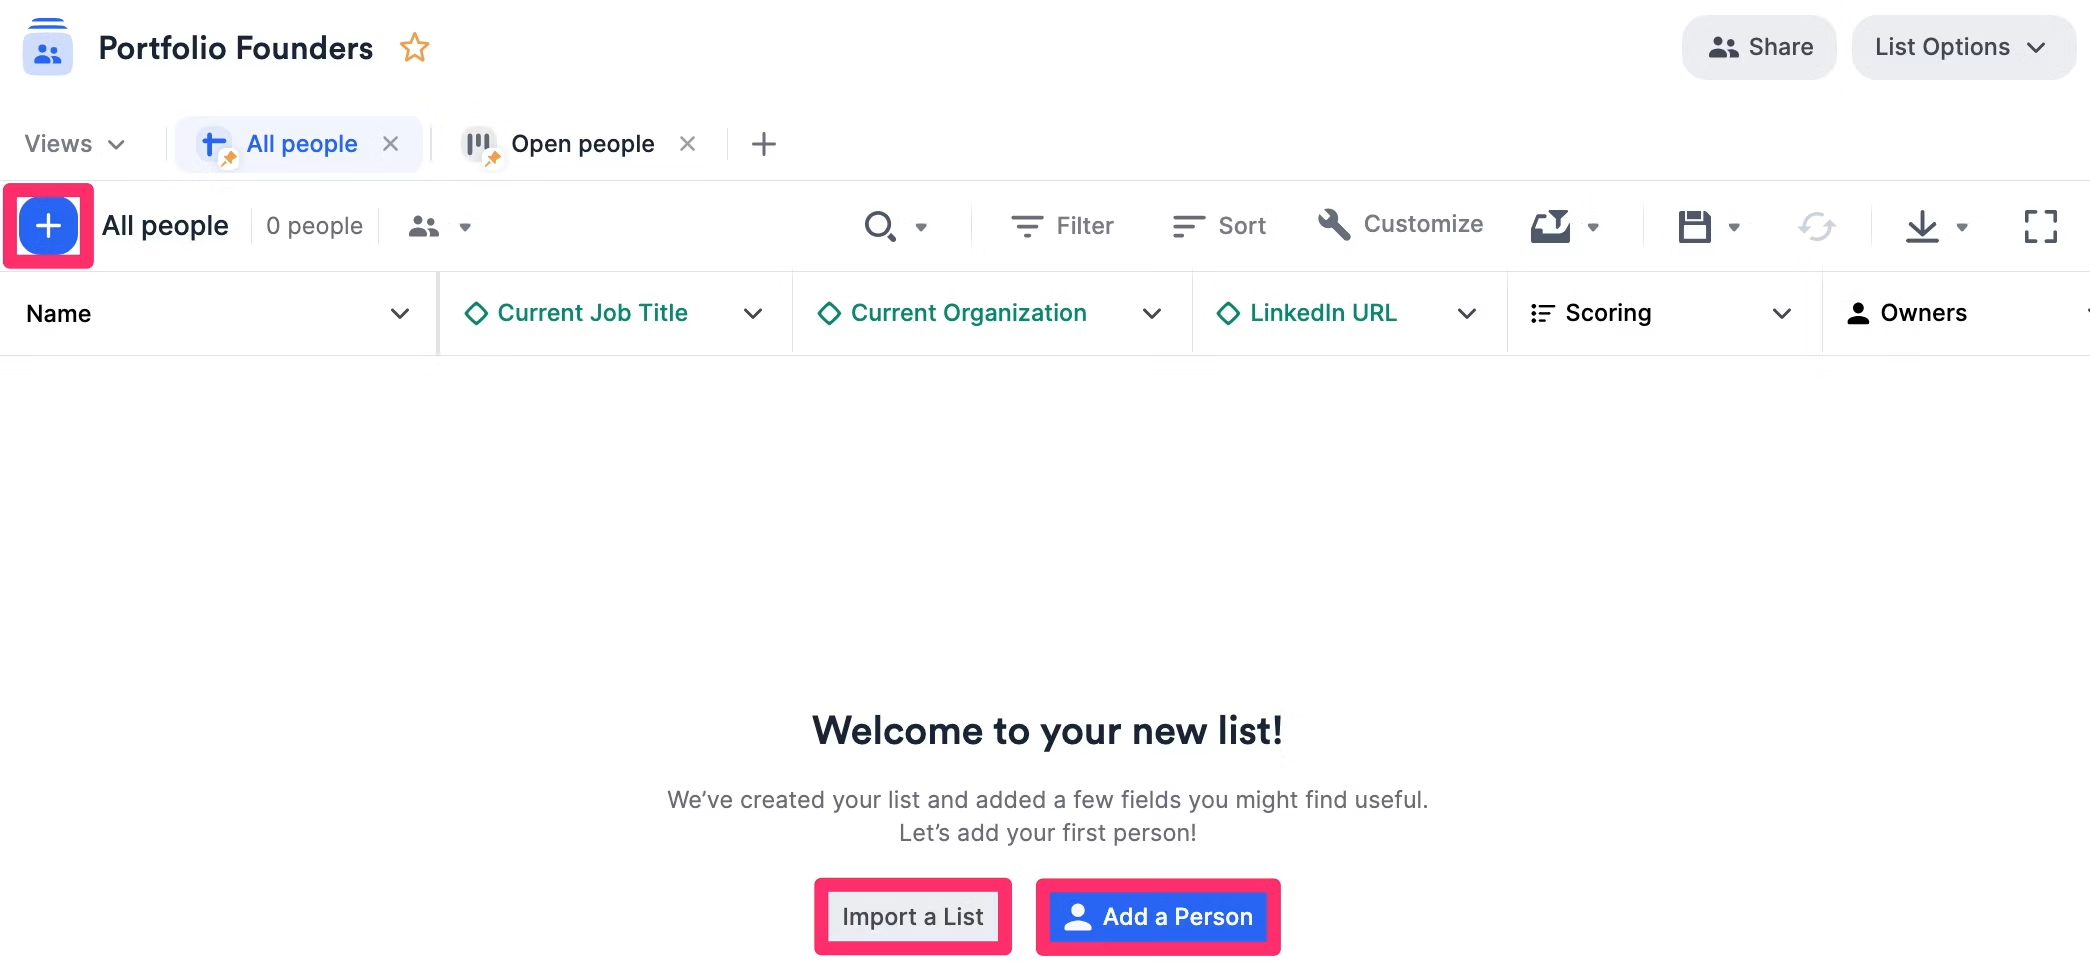
* If not, simply start adding list entries to your newly-created list by clicking the **Add a \[Entity]** button or the blue **+** button on the top-left corner.
5. Now, you can start adding entities to your list as list entries in two different ways:
* If you have a CSV file ready for import, check out our [Importing Data article](/s/article/How-to-import-your-data-into-Affinity) and click the **Import data** button.
* If not, simply start adding list entries to your newly-created list by clicking the **Add a \[Entity]** button or the blue **+** button on the top-left corner.